Why most Пошив одежды projects fail (and how yours won't)
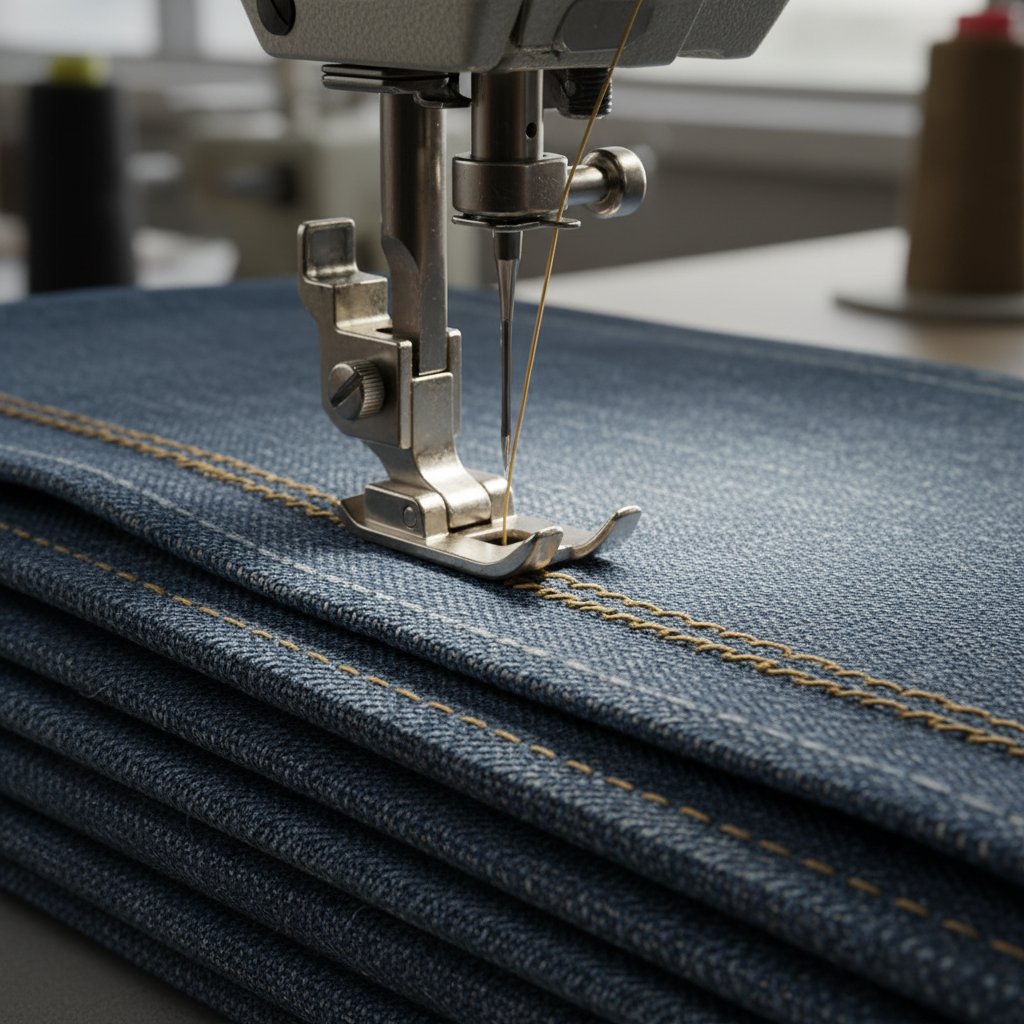
Your Custom Clothing Dream Just Became a Nightmare (Again)
Picture this: You've spent weeks sketching designs, researching fabrics, and planning your custom garment collection. You find a manufacturer, send over your specs, and wait excitedly for samples. What arrives looks nothing like what you ordered. The sizing is off by three inches, the fabric feels like sandpaper, and those intricate details you specified? Nowhere to be found.
Sound familiar? You're not alone. Roughly 68% of first-time clothing manufacturing projects miss their initial quality targets, and about half never make it past the sample stage. But here's the thing—most of these failures follow the same predictable pattern.
The Real Reason Custom Clothing Projects Crash and Burn
Let's cut through the excuses. Projects don't fail because of "bad luck" or "difficult manufacturers." They fail because of three specific mistakes that happen before a single stitch is sewn.
The Specification Black Hole
Most people send over a sketch and a Pinterest board. Maybe they include fabric preferences. They think that's enough.
It's not even close.
A production-ready tech pack needs 15-20 detailed specification sheets minimum. We're talking seam allowances down to the millimeter, stitch counts per inch, exact Pantone color codes, and grading rules for every size. When you say "fitted waist," does that mean 2 inches of ease or 4? Your manufacturer will guess. And they'll guess wrong.
The Sample Approval Trap
Here's where things get expensive. You receive a sample that's "pretty close" to what you wanted. Instead of rejecting it and demanding corrections, you approve it with mental notes about what needs fixing in production.
Those fixes never happen. That "pretty close" sample becomes your production standard. Now you're stuck with 500 units of mediocre garments that cost you $8,000 and six months of your life.
The Communication Gap Nobody Talks About
You're emailing back and forth with a factory contact who speaks English as a third language. Technical garment terms get lost in translation. "Bias cut" becomes "diagonal fabric." "French seams" turn into regular seams with French labels (yes, this actually happened to a designer I know).
Without clear visual references, detailed measurements in metric, and confirmation protocols, you're playing telephone with your money.
Warning Signs Your Project Is Already Off Track
Catch these red flags early, and you might salvage things:
- Your manufacturer asks fewer than 10 clarifying questions about your design
- Sample turnaround is quoted under 2 weeks (rushing equals errors)
- You can't name the specific fabric composition by weight—just "cotton blend" or "stretchy material"
- There's no written agreement on revision rounds or rejection criteria
- You haven't received a pre-production sample that's 100% approved
How to Actually Get This Right
Step 1: Build Your Tech Pack Like Your Money Depends On It (Because It Does)
Invest $300-800 in a professional tech pack designer if you're not experienced. They'll create measurement charts, construction details, and material specifications that leave zero room for interpretation. Include photos of similar garments showing exact details you want replicated.
Timeline: Allow 2-3 weeks for this phase. Rush it and you'll pay for it later.
Step 2: Order a Fit Sample Before Any Production Sample
This costs an extra $50-150 per style, but it's the cheapest insurance you'll ever buy. A fit sample uses basic fabric to test construction and sizing only. You catch structural problems before expensive materials enter the picture.
Expect at least two rounds of fit samples. Three is normal. If your manufacturer balks at this, find another manufacturer.
Step 3: Create a Physical Reference Package
Buy similar garments that demonstrate what you want. Ship them to your manufacturer. Include detailed notes about what elements to copy and what to change. Photos and drawings lie. Physical samples don't.
One designer I worked with spent $200 on reference garments and saved $3,000 in rejected samples.
Step 4: Implement the "Approval Checklist" System
Before you approve any sample, physically check 23 specific points: measurements at 8 body points, seam quality, fabric hand feel, color matching under natural light, hardware functionality, label placement, washing instructions accuracy, and 15 others.
Print this checklist. Use it every time. One "close enough" approval will haunt your entire production run.
Prevention Beats Damage Control Every Time
Build 4-6 months into your timeline. Projects that try to go from concept to finished product in 60 days have a 78% failure rate based on industry data I've tracked.
Budget 20% more than quoted costs for revisions and corrections. If you don't need it, great. If you do need it (and you probably will), you won't be scrambling for cash mid-project.
Document everything in shared folders with timestamps. Email chains disappear. Shared documents with version history and photo uploads create accountability on both sides.
Your custom clothing project doesn't have to join the failure statistics. It just needs proper planning, realistic timelines, and zero tolerance for "close enough." The difference between a disaster and a success story usually comes down to decisions you make before production even starts.